

Key Takeaways
Why a Dripping Tap Deserves Prompt Attention
A single dripping tap can waste thousands of gallons of water over a year — and that shows up on your utility bill. Beyond cost, the constant moisture can encourage mildew under the sink or around fixture bases. As the home improvement basics guide notes, having the right foundational skills makes even this kind of small job approachable for first-timers.
The good news: most tap drips stem from a single worn component — a rubber washer, O-ring, or cartridge — that costs just a few dollars to replace. Unlike issues that quietly worsen over time, a dripping tap gives you a clear, immediate signal that something needs attention. Addressing it now is almost always simpler than dealing with the consequences of delay.
Always Shut Off Water Before Starting
Working on a tap without isolating the water supply can cause immediate flooding and water damage. Locate the isolation valve beneath the sink or the main stopcock for your home and turn it off completely before touching any fittings. Turn on the tap afterward to confirm the line is fully depressurized before disassembly.
Tools and Materials You'll Need
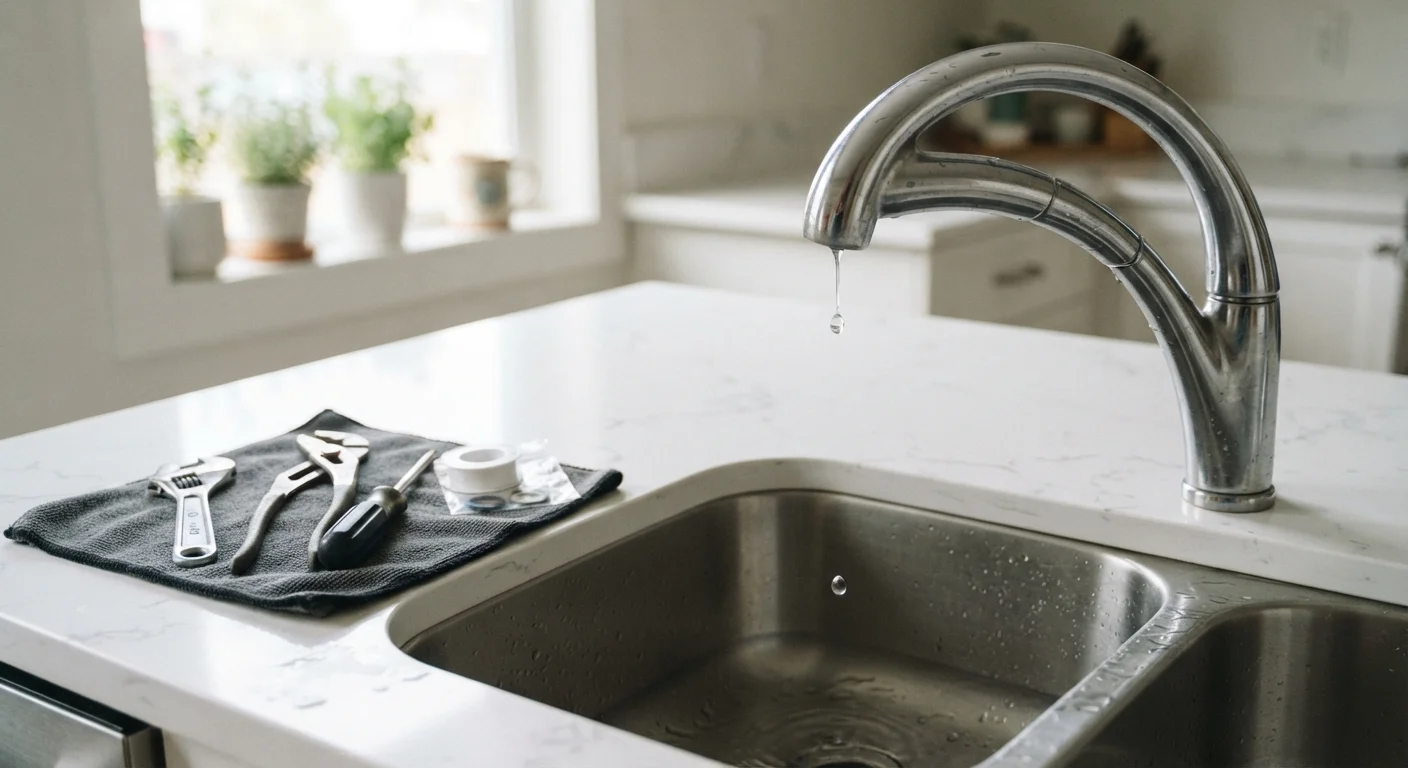
Before starting, gather everything listed below. Having parts and tools on hand before disassembly prevents the tap sitting open while you make a hardware run.
Adjustable wrench
Loosening and tightening the packing nut and supply connections without slipping.
Flathead and Phillips screwdrivers
Removing decorative caps and handle screws to access the tap's inner mechanism.
Needle-nose pliers
Gripping and extracting small components like retaining clips or worn O-rings.
Replacement washers, O-rings, or cartridge
The actual worn parts responsible for the drip that need swapping out.
Plumber's grease (silicone-based)
Lubricating new washers and O-rings before reassembly to extend their lifespan.
Towel or small bucket
Catching residual water released when you open the tap assembly.
Utility knife or pick tool
Prying off decorative index caps covering handle screws without scratching the finish.
What you will need
Step-by-Step: Fixing the Drip
Follow these steps in order. The process typically takes 30 to 90 minutes for a first-timer, though experienced DIYers often complete it in under half an hour.
Shut off the water supply
Turn the isolation valve under the sink clockwise until it stops, or close the main household stopcock. Open the dripping tap fully to drain any remaining pressure from the line. Place a towel in the basin to catch residual drips.
Remove the tap handle
Pry off the decorative index cap on top of the handle using a flathead screwdriver or pick tool. Unscrew the handle screw beneath it, then lift or pull the handle straight off. Some handles require a gentle wiggle — avoid forcing them, as plastic components can crack.
Identify the tap mechanism
With the handle removed, look at the internal assembly to determine your tap type:
- Compression tap: Has a visible stem with a rubber washer at the base — the most common in older US homes.
- Ball tap: Contains a rounded brass or plastic ball controlling flow — common in single-handle kitchen faucets.
- Cartridge tap: Features a cylindrical cartridge that lifts and rotates — widely used in modern bathroom faucets.
- Ceramic disc tap: Uses two ceramic discs that rotate against each other — typically found in premium fixtures.
Your replacement parts and next steps depend on which type you have.
Remove and replace the worn part
Use an adjustable wrench to unscrew the packing nut, then extract the stem or cartridge. Inspect the rubber washer or O-ring at the end of the stem — if it looks flattened, cracked, or misshapen, that's your culprit. Unscrew the washer screw, swap in the new washer, and lightly coat it with silicone-based plumber's grease. For cartridge taps, pull the old cartridge straight out and press the new one in, aligning any tabs or notches.
Reassemble and test
Reverse your disassembly steps: replace the stem or cartridge, hand-tighten the packing nut, then snug it with a wrench (avoid overtightening, which can crack the seat). Reattach the handle, replace the screw, and press the index cap back into place. Slowly reopen the isolation valve, let the line repressurize, and check for drips from both the spout and the base of the handle.
Match Parts Before You Disassemble
If possible, look up your faucet's make and model number (often stamped under the handle or on the supply line) before you start. Hardware stores can match cartridges and washers exactly using that reference, saving you a second trip mid-repair.
When the Fix Doesn't Hold — and What to Do Next
If the tap continues to drip after replacement, the valve seat inside the tap body may be worn or pitted. Valve seat grinders are available at hardware stores, but this repair requires more experience and comfort with plumbing. At that point, bringing in a licensed plumber is a reasonable and cost-effective decision.
Similarly, if you notice water staining, rust, or corrosion on supply lines during your repair, don't ignore it. Small plumbing issues have a way of compounding — something the guide on deferred repairs explores in detail, even though it focuses on vehicles. The underlying principle applies equally at home.
Know When to Call a Licensed Plumber
If the drip originates from the supply pipes rather than the tap body, or if you discover corroded or damaged fittings during disassembly, stop and contact a licensed plumber. Work involving mains connections, soldered joints, or supply-line repairs may require permits and should not be attempted as a DIY task.
If you're also managing outdoor water use, a well-maintained indoor plumbing system pairs well with a thoughtfully designed garden irrigation setup — another area where small leaks and inefficiencies add up quickly.