

Key Takeaways
Why a Maintained System Beats a Forgotten One
Plenty of gardeners install drip lines or soaker hoses in spring, then wonder why plants struggle by midsummer — only to find a cracked emitter, a kinked tube, or a timer battery that died months ago. The goal of this guide is not just to get water running, but to build a system you will actually check, adjust, and trust season after season.
If you are starting a vegetable garden from scratch, adding irrigation early is far simpler than retrofitting it around established plants. But even existing beds benefit enormously from a thoughtful setup.
It is also worth reading about how overwatering damages gardens before you design your schedule — too much water is just as harmful as too little, and automated systems can make over-delivery easy if timers are set carelessly.
What you will need
Planning Your Layout Before Buying Anything
The most common irrigation mistake is purchasing components before mapping the garden. Start with a rough sketch — nothing elaborate — that marks your water source, bed boundaries, plant types, and any slope. Group plants with similar water needs into the same zone; drought-tolerant herbs and thirsty tomatoes should not share the same line.
Measure the total length each run needs to travel. Standard half-inch mainline tubing can typically serve runs up to about 200 feet, but pressure and emitter count affect this. Check your home's static water pressure — a simple gauge attached to an outdoor spigot will tell you if you are working with low pressure, which limits how many emitters a single zone can support reliably.
For gardens with multiple distinct areas — raised beds, an in-ground border, and a container collection, for example — plan separate zones and a multi-outlet timer, or consider running them sequentially. See our guide on raised beds versus in-ground planting for how drainage differences between those setups affect watering frequency.
Backflow preventer
Prevents garden water and contaminants from siphoning back into your home's water supply.
Pressure regulator (20–30 PSI)
Reduces household water pressure to the low range drip emitters require to function reliably.
Programmable timer
Automates watering schedules so the system runs consistently without manual intervention.
Inline sediment filter
Catches debris before it reaches and clogs drip emitters.
Half-inch polyethylene mainline tubing
Serves as the backbone of the system, carrying water from the spigot to each zone.
Hole punch tool
Creates clean, correctly sized holes in mainline tubing for inserting barbed emitters.
Drip emitters or soaker hose
Delivers water slowly and directly to the root zone of individual plants or along a bed.
Tubing cutters
Produces clean cuts in polyethylene tubing to ensure leak-free fittings and connections.
Installation and Seasonal Maintenance
With your layout planned and tools assembled, installation is straightforward. Follow the steps below in sequence — skipping steps, particularly the flushing and pressure-regulator steps, is the most common cause of premature emitter failure.
Install a backflow preventer and filter at the spigot
Thread a backflow preventer directly onto your outdoor spigot, then attach an inline filter. The backflow preventer stops garden water from siphoning back into your home's drinking supply — many local codes require this. The filter catches sediment before it reaches and clogs your emitters.
Attach a pressure regulator and timer
Drip systems operate at low pressure — typically 20–30 PSI. If your home's water pressure is higher (common in many US municipalities), an inline pressure regulator protects emitters from bursting. Connect your programmable timer between the filter and the regulator, following the manufacturer's sequence for your specific model.
Lay and secure the mainline tubing
Unroll half-inch polyethylene mainline tubing from the spigot assembly toward your garden beds. Use tubing stakes every 3–4 feet to keep the line flat against the soil. Avoid sharp bends, which restrict flow; use elbow fittings at corners instead. Cut to length with tubing cutters rather than scissors for a clean, leak-free fit.
Punch emitter holes and insert drip emitters or soaker lines
Use a hole punch tool to create openings in the mainline at each plant location. Press a barbed emitter (or a barbed connector for a soaker hose branch) firmly into each hole until the barb seats fully — an incomplete seal is the leading cause of leaks at this stage. For soaker hose runs, connect a length of soaker hose to the barbed fitting and snake it around the base of plants.
Select emitter flow rates to match plant needs: typically 0.5–1 GPH for herbs and small perennials, 1–2 GPH for vegetables and shrubs.
Cap the end of the mainline and flush the system
Attach an end cap to the far end of your mainline. Before fully sealing it, run water through the line for 30–60 seconds with the end open to flush any debris punched in during emitter installation. Then cap securely. Turn the system on again and walk the full run, pressing each emitter connection to confirm it is not dripping at the joint.
Set and test the timer schedule
Program your timer with a conservative starting schedule — most vegetable gardens in moderate climates benefit from watering every 1–2 days for 20–40 minutes, but this varies widely by soil type, climate, and plant maturity. Run one full manual cycle immediately and observe the soil moisture around representative plants after 30 minutes and again after 24 hours to calibrate. Adjust duration and frequency based on what you observe over the first two weeks.
Winterize before the first hard freeze
Before temperatures drop to freezing, turn off the water supply to the system, disconnect the timer, and drain all lines. In colder US climates (USDA Zone 6 and below), blow out residual water with a low-pressure air compressor or shake and gravity-drain flexible tubing. Store timers and pressure regulators indoors. Emitters left full of water through a hard freeze are prone to cracking.
Once the system is running, monthly maintenance takes only a few minutes: walk each line, check emitters for blockage or displacement, and confirm the timer clock has not drifted. At the start of each season, run each zone manually and watch the full length for pooling (indicating a blockage) or dry patches (indicating a blocked or missing emitter). Keeping a month-by-month maintenance reference helps you remember to winterize before the first hard freeze and recommission correctly in spring.
Mulch Extends Every Drop
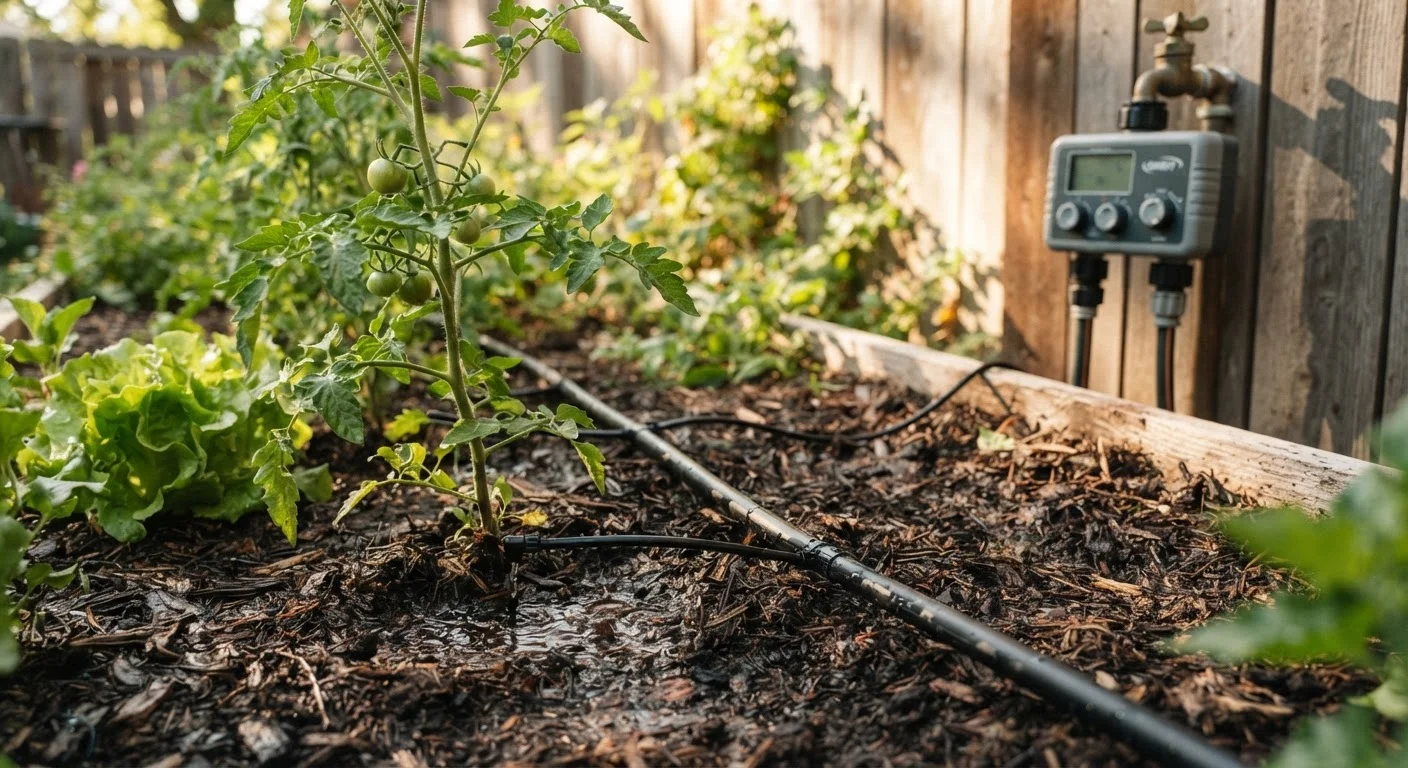
Applying 2–3 inches of organic mulch over your drip lines and soil surface significantly reduces evaporation between watering cycles. It also keeps tubing in place and protects it from UV degradation. This single addition can allow you to reduce your timer's run duration noticeably once plants are established.