

Key Takeaways
Before You Begin: Setting Up for Success
A productive decluttering weekend starts the night before. Gather your supplies, block off your calendar, and set a realistic scope. If you've ever wondered why clutter builds up in the first place, our article on the psychology behind a cluttered home explains the mental patterns at work — understanding them makes the sorting process feel far less loaded.
What you will need
Large trash bags (heavy duty)
Collect discarded items quickly without tearing mid-session.
Cardboard boxes or reusable bins
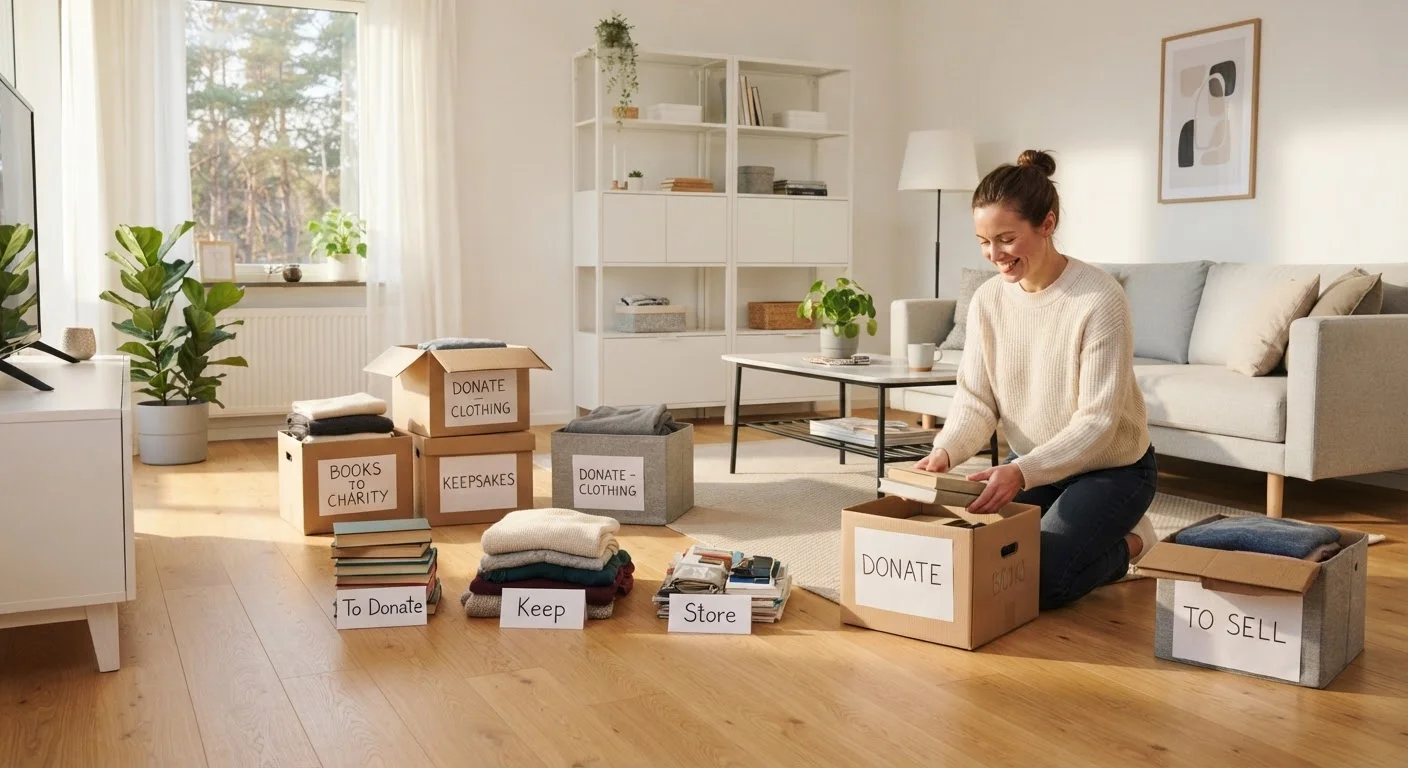
Separate donate items cleanly from keep and discard piles.
Sticky labels or masking tape
Mark boxes clearly so sorted items don't get mixed back together.
Handheld label maker
Create durable labels for storage containers once items are reorganized.
Timer or interval app
Set 20–30 minute work blocks to maintain focus and prevent burnout.
Divide your home into two halves: tackle communal areas and the kitchen on Day 1, then bedrooms and storage spaces on Day 2. This split keeps each session feeling finite rather than endless.
Day 1: Kitchen, Living Room, and Entryway
Begin in the kitchen, where clutter is often the most practical — expired pantry items, duplicate utensils, and mismatched containers. Pull everything out of one cabinet at a time and ask three quick questions: Do I use this regularly? Does it work? Would I buy it again? If the answer to all three is no, it goes in the donate or discard box.
Move to the living room next. Focus on surfaces first — shelves, coffee tables, entertainment units — before opening drawers. Books, media, and decorative items accumulate invisibly over years. Give yourself permission to let go of items kept out of guilt rather than genuine use or love.
The entryway is often the smallest space but the most psychologically important: it sets the tone for the entire home. Clear hooks of unused bags, remove shoes that haven't been worn in months, and pare back to only what belongs there daily.
Clear and empty one zone at a time
Pick a single cabinet, drawer, or shelf and remove everything from it before making any decisions. Sorting is faster when you can see every item at once rather than fishing things out one by one.
Apply the three-question filter
For each item ask: Do I use it regularly? Does it work properly? Would I choose to bring it into my home today? If you answer no to two or more questions, place the item in the donate or discard box without second-guessing.
Return only what you're keeping
Before placing kept items back, wipe down the shelf or drawer. Return only the items that passed your filter, grouped logically by how you actually use them — not by how they came packaged or were stored before.
Seal and remove donation and discard bags
Once a room is complete, tie off or seal all donate and discard bags and move them immediately to your car, porch, or building entrance. Keeping them in the room invites second-guessing and slows the next session.
Take a timed break before the next room
Set a 15-minute break between rooms. Drink water, walk outside briefly, and avoid screens. Decision fatigue is real — short resets help you maintain quality judgments through the afternoon.
Day 2: Bedrooms, Bathrooms, and Overflow Storage
Bedrooms — especially closets — tend to generate the most emotional friction. Work methodically by category: clothing, then accessories, then bedside and under-bed storage. For a detailed process for evaluating every item in your wardrobe, see our wardrobe audit guide.
Bathrooms are usually quick wins. Discard expired medications through an approved disposal program, recycle empty bottles, and consolidate duplicates. Keep counters clear — visible clutter here raises daily stress more than most people realize.
If your home has a garage, shed, or utility room, resist the urge to push overflow into those spaces as a shortcut. Our guide on taming garage and utility spaces can help you address those areas separately rather than using them as a pressure valve.
Schedule Your Donation Drop-Off Now
Before you finish Day 2, look up your nearest donation center hours and add a drop-off appointment to your calendar. Having a concrete plan removes the final friction between decluttering and completion. Many centers also offer free home pickup for larger loads — worth checking before you load your car.
Once both days are done, schedule a donation drop-off or arrange a pickup within 48 hours. Bags left sitting at home have a way of being unpacked again.
Keeping It That Way
One productive weekend is a strong start, but lasting organization requires small, consistent habits. Our article on why tidiness doesn't last outlines the specific patterns that cause homes to revert — and what genuinely works instead. The short answer: reduce incoming items, assign every object a home, and do a five-minute reset each evening.
If you're not sure where to begin next time a room starts slipping, our framework for prioritising spaces gives you a repeatable starting point without the overwhelm. Decluttering doesn't have to be a dramatic annual event — it can become a quiet, manageable part of how you live at home.