

Key Takeaways
Why Preparation Determines the Outcome
Most renovation failures don't trace back to poor execution — they trace back to skipped preparation. A fresh coat of paint peels because the surface wasn't cleaned and primed. New tile pops up because the subfloor wasn't checked for flex. Trim separates because gaps weren't properly filled before finishing.
The gap between a renovation that lasts five years and one that lasts twenty is almost always found in the hours before the first tool is picked up. Understanding what experienced renovators do in that window — before they start cutting, painting, or laying materials — is the most actionable improvement most homeowners can make. If you're also curious about misconceptions that derail projects, the home renovation myths guide is worth reading alongside this one.
Core Preparation Habits Professionals Rely On
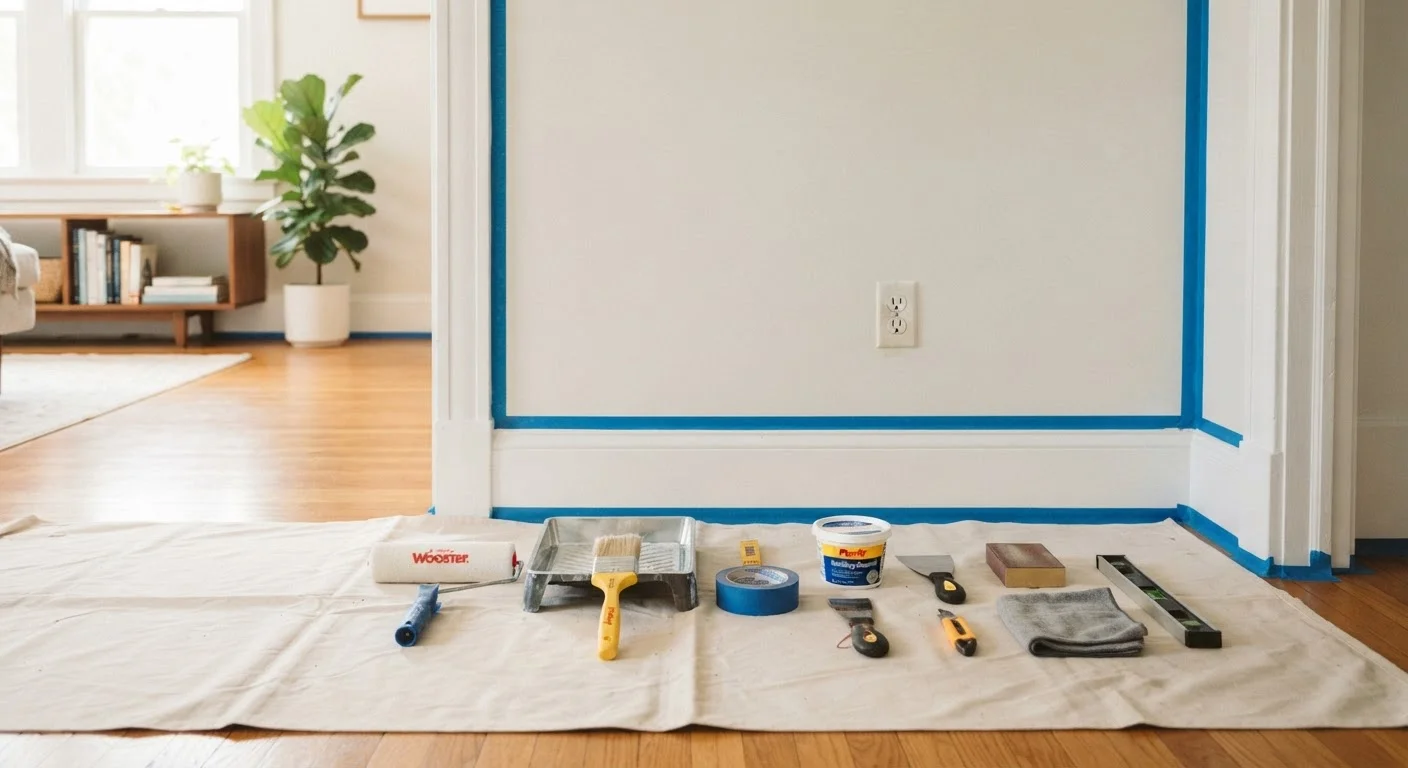
These aren't shortcuts — they're the standard practices that separate lasting work from work that needs redoing. Each one addresses a failure point that commonly shows up in DIY and professional renovations alike.
Clean and degrease every surface before applying any finish or adhesive.
Dust, grease, and residue create a barrier between the surface and whatever you're applying, whether that's paint, adhesive, grout, or primer. Even surfaces that look clean often carry invisible contamination. Skipping this step is one of the most common reasons finishes fail prematurely.
Map out the full scope of work — including materials, sequencing, and drying times — before starting.
Mid-project changes are expensive and disruptive. Understanding the full sequence of a job reveals dependencies: you can't tile until the backer board is set; you can't paint trim until caulk has fully cured. A written plan also surfaces material quantities and prevents multiple disruptive trips to the hardware store.
Sand between coats and prime before painting on any surface that hasn't been recently painted.
Primer improves adhesion, blocks stains, and creates a consistent surface for topcoats. Sanding between layers removes dust nibs and brush marks, resulting in a smoother, more durable finish. Omitting either step frequently leads to chipping, peeling, or an uneven appearance within a year or two.
Check structural conditions — moisture, levelness, and stability — before installing new materials.
Installing flooring, tile, or cabinetry over an unaddressed problem doesn't fix the problem — it conceals it until it becomes worse. Subfloor flex causes tile to crack. Moisture behind walls leads to mold. An unlevel floor makes cabinet installation a recurring headache. Catching these before installation is far less costly than uncovering them after.
Allow full manufacturer-recommended dry and cure times between every phase.
Dry time (surface dry) and cure time (structural hardening) are not the same. Grout, paint, caulk, and adhesive all need full cure time before being subjected to use, cleaning, or the next application layer. Rushing this is among the leading causes of early failure in DIY renovations.
Quick Wins You Can Apply Before Your Next Project
You don't need a major overhaul underway to start building better preparation habits. These actions build the discipline and knowledge base that make any project go more smoothly.
Once your space is in good shape, you may find that small targeted upgrades deliver more impact than you'd expect.
When to Bring In a Professional
Good preparation includes knowing the limits of DIY. Electrical work, load-bearing wall modifications, plumbing connections to the main supply, and roofing repairs all involve risk of injury, structural damage, or code violations if handled without proper training or licensing.
Know When a Licensed Professional Is Required
In most US jurisdictions, electrical panel work, gas line modifications, and load-bearing structural changes legally require a licensed contractor and permit — not just for safety, but because unpermitted work can affect your homeowner's insurance coverage and your ability to sell the property. Even if you're an experienced DIYer, it's worth confirming local requirements before starting any project that touches these systems. Your municipal building department is the authoritative source for what's required in your area.
Permits are another preparation step that homeowners frequently skip. Many jurisdictions require permits for electrical upgrades, additions, and significant structural changes. Working without required permits can complicate home sales and void insurance coverage. Before beginning any substantial project — especially a full kitchen overhaul — review the complete kitchen renovation guide for a practical overview of what planning and permitting typically involves. Always verify your local requirements with your municipal building department before starting work.
~35%
DIY renovations require significant rework
Industry estimates consistently suggest a substantial share of DIY home projects require partial or full rework, most often attributed to inadequate surface preparation or skipped curing times.
2–3×
Longer finish lifespan with proper priming
Professional painting contractors generally expect properly primed and prepared surfaces to hold a finish two to three times longer than unprimed or poorly cleaned surfaces under equivalent conditions.