

Key Takeaways
Start With a Realistic Plan
A kitchen renovation is one of the most complex home improvement projects a homeowner can undertake — it involves multiple trades, strict sequencing, and decisions that are difficult or expensive to reverse. The difference between a smooth project and a stressful one almost always comes down to how thoroughly you plan before a single cabinet is removed.
Begin by defining your scope clearly: Are you doing a cosmetic refresh (paint, hardware, new fixtures) or a full structural remodel (moving walls, relocating plumbing, adding square footage)? These have very different timelines, budgets, and professional requirements. If you're new to home improvement in general, our guide to getting started on home projects lays out the foundational skills and tools worth having before diving in.
Set a realistic budget with a contingency buffer — industry guidance commonly suggests reserving 10–20% of your total budget for unexpected costs, which are nearly universal in renovation work. Sketch your existing layout to scale, note every outlet, window, and door swing, and identify which elements you want to change versus keep.
~$27,000
Median U.S. kitchen remodel cost
According to the National Association of Realtors' Remodeling Impact Report, midrange kitchen renovations typically fall in this range, though costs vary widely by scope and region.
60–80%
Average cost recouped on kitchen remodel
Remodeling Magazine's Cost vs. Value data suggests homeowners typically recoup roughly 60–80% of a midrange kitchen remodel at resale, though this varies by market.
Permits, Codes, and When to Call a Pro
One of the most important — and most commonly underestimated — aspects of kitchen renovation is understanding what work requires a permit and what must be performed by a licensed professional.
Do Not Skip Permits on Regulated Work
In most U.S. jurisdictions, any work involving electrical circuits, gas lines, or plumbing tie-ins requires a permit and inspection. Unpermitted work can void homeowner's insurance, create problems at resale, and — most critically — pose serious safety risks. Always verify your local requirements with your municipal building department before starting.
As a general rule: moving or adding electrical circuits, relocating gas lines for ranges or ovens, and altering supply or drain plumbing all require permits in most U.S. municipalities. Surface-level work like painting, replacing cabinet fronts, or swapping out a faucet typically does not — but always verify with your local building department.
Structural changes, such as removing a load-bearing wall to open up a kitchen, require an engineer's assessment and proper permits. Even experienced DIYers should not attempt to identify or remove load-bearing walls without professional guidance. Misidentifying a load-bearing wall is one of the most dangerous — and costly — mistakes in home renovation.
Common renovation myths often lead homeowners to underestimate the permit process. Permits exist to protect you — an inspected job gives you documented evidence that the work meets code, which matters for insurance and resale.
Demolition and Prep Work
Once plans are confirmed and permits are in hand, demolition begins — but controlled, methodical demo is very different from randomly tearing things out. Protect flooring and adjacent rooms with plastic sheeting and drop cloths. Turn off the relevant circuit breakers and water supply valves before removing any fixtures.
Older Homes May Contain Hazardous Materials
Homes built before 1980 may contain asbestos in floor tiles or lead paint on walls and cabinets. Before demolishing or sanding any surfaces in an older home, have materials tested by a certified inspector. Disturbing asbestos or lead without proper precautions is a serious health hazard.
Remove cabinets systematically: upper cabinets first, then lower. Disconnect the sink drain and supply lines before pulling the sink. Cap any open plumbing lines immediately to prevent accidental flooding. Bag and label any hardware or components you plan to reuse.
Surface prep is where long-term results are determined. Patch any drywall damage, sand uneven areas, and clean all wall surfaces thoroughly before any painting or tiling begins. Preparation habits that professionals rely on cover exactly this stage — and are worth reviewing before you pick up a brush or roller.
Protect Your Workflow During Renovation
Set up a temporary kitchen station in another room with a microwave, electric kettle, and mini-fridge before demolition begins. Renovations routinely take longer than expected, and having a functional food-prep area reduces daily stress considerably.
Cabinets, Countertops, and Layout
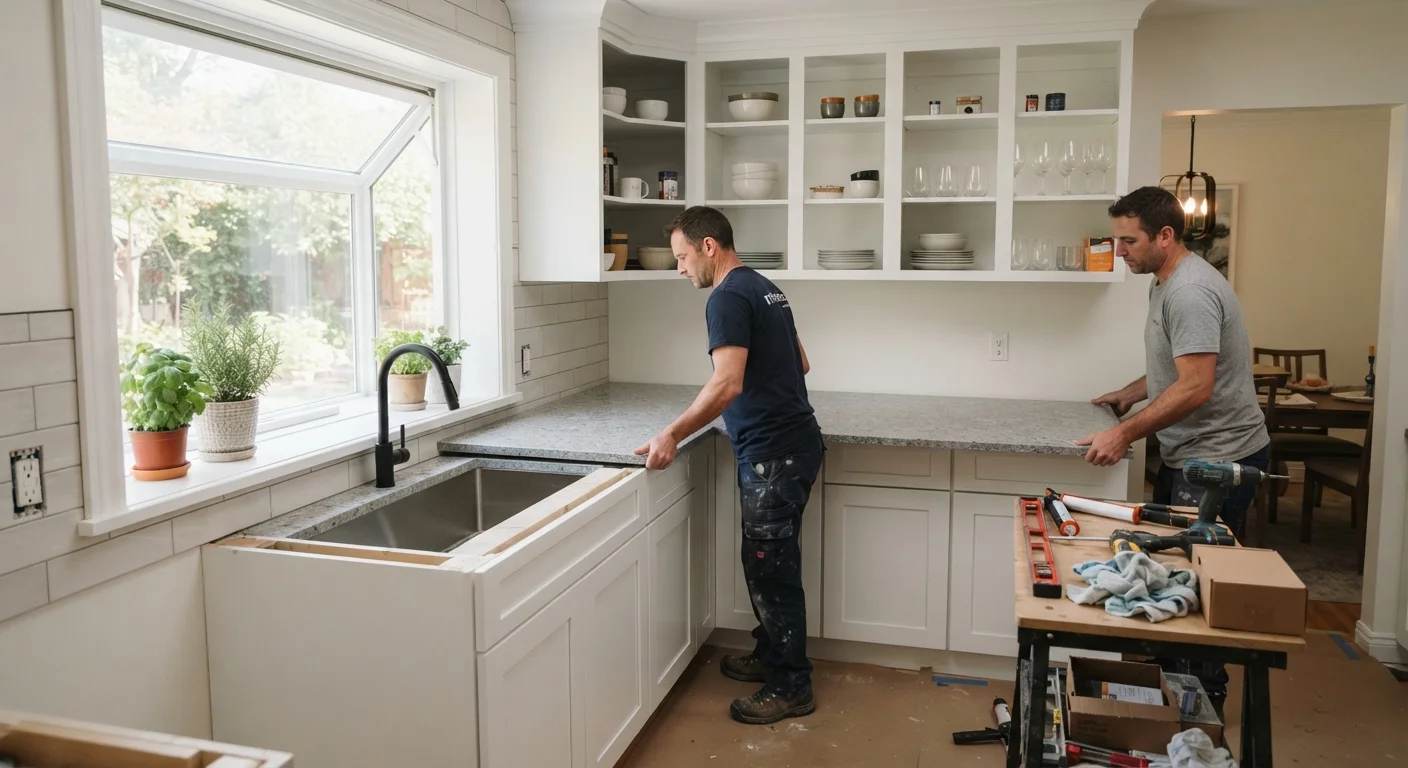
Cabinet installation is the structural backbone of a kitchen renovation, and sequencing matters: upper cabinets go in before lower ones so you're not reaching over base units. Use a long level to establish a consistent reference line — uneven cabinet runs compound into significant problems by the time you reach the end of a wall.
Before finalizing your layout, spend a few days tracking how you actually move through your kitchen during cooking — your renovation should match your real habits, not an idealized version of them.
Kitchens that feel awkward in daily use often stem from layouts planned on paper without accounting for actual traffic patterns and task sequences.
Prime every surface before painting — including previously painted walls — using a bonding or shellac-based primer when switching from oil to latex paint.
Skipping primer is one of the most common reasons kitchen paint peels within a year, especially near moisture-prone areas like the sink and stove.
When selecting countertop material, consider durability relative to your actual cooking habits, not just aesthetics. Different materials have meaningfully different maintenance requirements and tolerances for heat, moisture, and cutting — discuss the practical trade-offs with your supplier before committing.
The classic kitchen design principle is the work triangle: positioning the sink, refrigerator, and range in a triangular arrangement to minimize unnecessary movement. While open-plan kitchens sometimes call for modified approaches, the underlying logic — reducing steps between your three most-used stations — remains sound guidance.
After your renovation is complete, strategies for keeping your kitchen organized and functional will help you make the most of your new layout without constant reorganizing.
Finishing Touches: Painting and Final Details
The final phase of a kitchen renovation covers painting, trim work, hardware installation, caulking, and touch-ups — the steps that give a project its finished, professional appearance.
Understand the Terminology Before You Start
Kitchen renovation involves a lot of trade-specific language — from 'rough-in' plumbing to 'toe kick' on cabinetry. If terms from contractors or plans are unfamiliar, our plain-language home improvement glossary can help you follow along and communicate confidently.
For kitchen walls, use a satin or semi-gloss paint finish rather than flat or matte. These sheens are more resistant to moisture and easier to wipe clean — both important in a cooking environment. Apply paint in thin, even coats rather than one heavy layer; two to three thin coats consistently outperform one thick application.
Caulk all joints where countertops meet the backsplash, where cabinets meet walls, and around the sink. Use a kitchen-grade silicone or siliconized acrylic caulk rated for wet areas. Smooth the bead with a dampened finger or caulk tool immediately after application, before it skins over.
Install hardware — handles, pulls, and hinges — last, after all painting is complete. Use a template or simple jig to ensure consistent placement across all cabinet doors and drawers. Finally, reinstall or replace outlet covers and light switch plates, reattach the sink and fixtures, and walk through the entire space to note any touch-ups needed before signing off on the project.
A kitchen renovation done in the right sequence, with proper permits and sound prep, is one of the most rewarding home projects you can complete. Take it one phase at a time, don't rush the details, and the result will serve your household well for years.
“The kitchen is the heart of the home — and a well-planned renovation should make it work harder for the people who live there, not just look good in photographs.”
— National Kitchen and Bath Association, Industry association representing kitchen and bath design professionals