

Key Takeaways
Why Composting Is Worth the Effort
Compost — often called 'garden gold' — is decomposed organic matter that improves soil structure, feeds soil biology, and slowly releases nutrients plants can use. Unlike synthetic fertilizers, it doesn't surge nitrogen into the soil all at once; it releases nutrients gradually as microbes continue their work. The result is healthier, more resilient plants and ground that holds water more effectively, which is particularly valuable in both dry summers and heavy clay soils.
Beyond the garden, composting diverts organic material from landfill. Food waste in anaerobic landfill conditions produces methane, a potent greenhouse gas. Composting that same material aerobically at home produces a useful soil amendment instead. If you're starting a vegetable garden from scratch, building a compost routine at the same time gives you a free, ongoing supply of soil enrichment. And if you're using raised beds or in-ground planting, compost works well in both systems.
Speed Up Decomposition Naturally
Chop or shred materials into smaller pieces before adding them to your pile — smaller particles expose more surface area to microbes and break down significantly faster. Turning the pile every one to two weeks also introduces the oxygen that aerobic bacteria need to do their best work.
What Goes In — and What Stays Out
Understanding the right inputs is the most critical part of composting. The table below summarizes common materials and their suitability.
| Material | Category | Compost? |
|---|---|---|
| Vegetable and fruit scraps | Greens | Yes |
| Coffee grounds and filters | Greens | Yes |
| Grass clippings (untreated) | Greens | Yes — in thin layers |
| Fallen leaves | Browns | Yes |
| Cardboard and newspaper | Browns | Yes — shredded |
| Eggshells | Neutral | Yes — break down slowly |
| Meat, fish, dairy | — | No |
| Pet feces | — | No |
| Diseased plants | — | No |
| Treated wood or plant material | — | No |
Never Compost These Materials
Meat, fish, bones, dairy products, oily foods, pet feces, and diseased or pesticide-treated plant material should never go into a home compost pile. These items attract pests, create harmful odors, or introduce pathogens that home composting temperatures cannot reliably neutralize. Stick to plant-based kitchen scraps and untreated garden waste.
Compost that has matured into a rich, dark amendment complements other soil health practices. See our guide on garden mulching from materials to application to understand how mulch and compost work together above and below the soil surface. For a broader look at soil health claims, the truth about garden soil additives is a useful reality check.
Setting Up and Running Your Compost System
Before you begin the step-by-step process, gather the tools and check you meet the basic requirements below.
What you will need
Compost bin or tumbler
Contains the pile, retains heat, and keeps pests out during decomposition.
Pitchfork or compost turning tool
Aerates the pile by mixing layers and introducing oxygen to active microbes.
Garden hose or watering can
Maintains adequate moisture — the pile should feel like a wrung-out sponge.
Kitchen countertop collection bin
Collects vegetable scraps and coffee grounds conveniently before transferring to the outdoor pile.
Compost thermometer
Monitors internal pile temperature to confirm active microbial decomposition is occurring.
Choose and set up your composting vessel
Select a location that gets partial sun, drains well, and sits reasonably close to both your kitchen door and your garden beds. A freestanding bin, wooden bay, or tumbler all work — the key requirement is that air can circulate and you can access the pile easily. Place it directly on soil or grass rather than concrete so beneficial organisms and earthworms can migrate in from below.
Gather your 'browns' and 'greens'
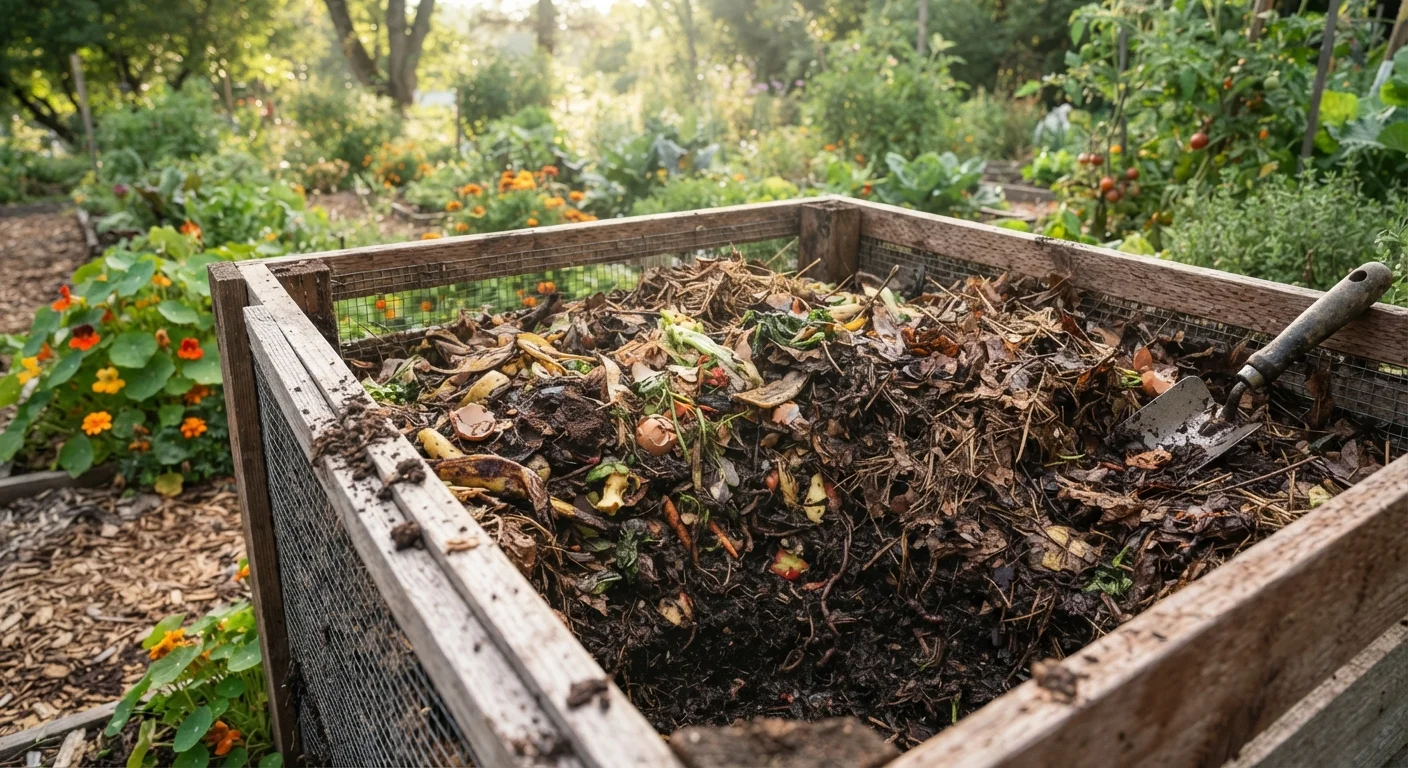
Browns are carbon-rich dry materials: fallen leaves, cardboard torn into small pieces, newspaper, straw, wood chips, and paper egg cartons. Greens are nitrogen-rich fresh materials: vegetable and fruit scraps, coffee grounds and filters, tea bags (remove staples), fresh grass clippings, and garden trimmings. Aim for roughly three parts browns to one part greens by volume — this ratio feeds the microbes without creating a slimy, odorous pile.
Layer and build your pile
Start with a 4–6 inch base layer of coarse browns such as wood chips or shredded cardboard — this promotes airflow from below. Add a layer of greens roughly 2–3 inches deep, then cover with another layer of browns. Continue alternating layers as new material becomes available. There is no need to be perfectly precise; think of the ratio as a general guide rather than a strict formula.
Maintain moisture and aeration
The pile should feel about as damp as a wrung-out sponge — moist throughout but not dripping. During dry spells, water the pile lightly with a hose. During heavy rain, cover it to prevent waterlogging. Turn the pile with a pitchfork or compost tool every one to two weeks, moving outer material toward the center where temperatures are highest. A well-turned pile can reach internal temperatures of 130–160°F (54–71°C), which accelerates breakdown.
Recognize and troubleshoot common problems
A healthy pile smells earthy. If yours smells like ammonia, the ratio is too nitrogen-heavy — add more browns. If it smells like rotten eggs, the pile is too wet and anaerobic — turn it and add dry material. A pile that isn't heating up may be too dry, too small, or lacking nitrogen; water it and add fresh greens. Pests are usually a sign that food materials are left exposed — always bury scraps under a layer of browns.
Harvest and use finished compost
Finished compost is dark brown, crumbly, and smells pleasantly earthy — individual scraps are no longer recognizable. This typically takes three to six months with regular turning, or up to twelve months with a passive pile. Harvest compost from the bottom of the pile where material finishes first. Use it as a 1–2 inch top dressing around established plants, mix it into new garden beds, or blend it into potting mixes for containers.
Avoid Unfinished Compost in Planting Beds
Adding compost that hasn't fully broken down can tie up nitrogen in the soil as microbes continue decomposing it, temporarily starving your plants. Wait until compost is dark, crumbly, and smells earthy before working it into garden beds or using it as a top dressing.