

Key Takeaways
Why Wet Paint Can Be Deceiving
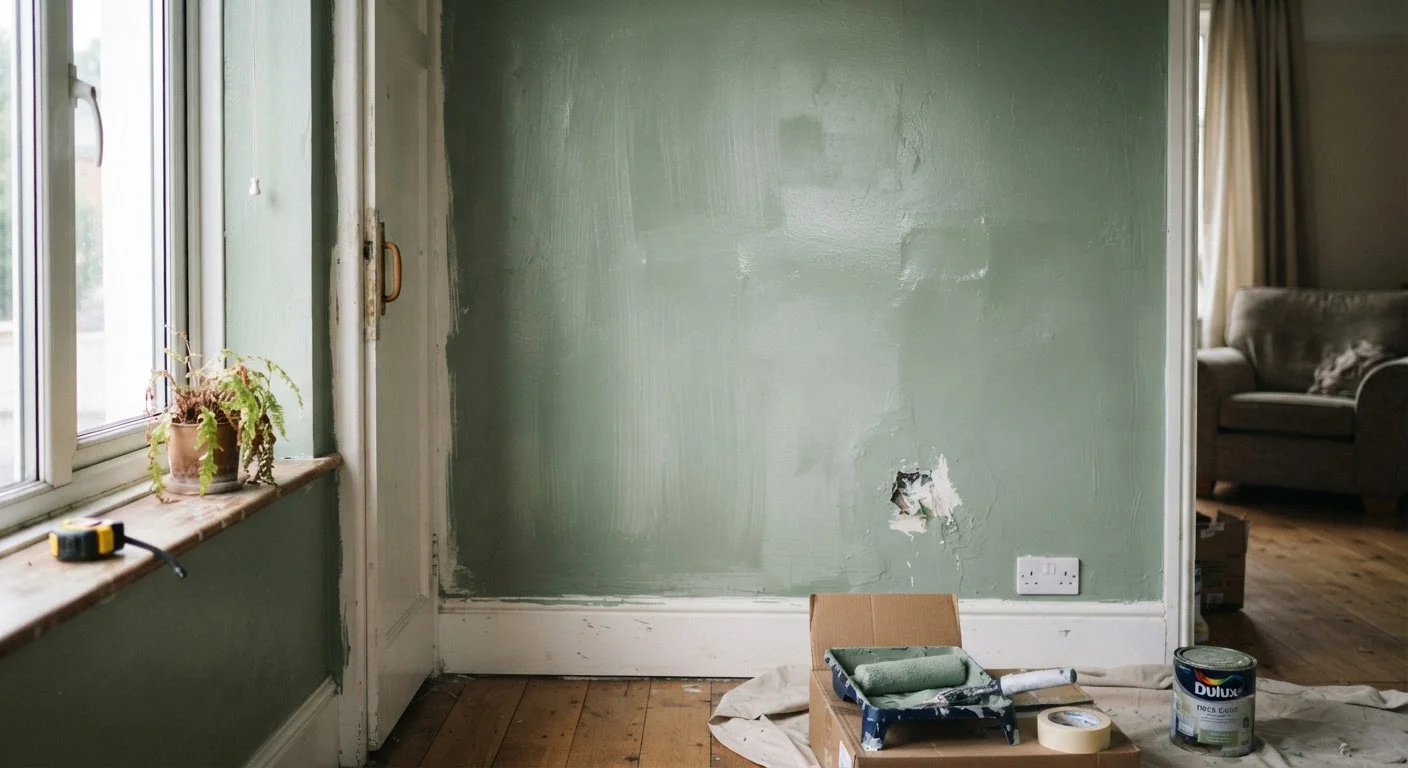
Wet paint is forgiving. It self-levels slightly, colours look rich, and brush marks seem to disappear in the moment. Then it dries — and suddenly you're looking at streaks, thin patches, roller texture, or a finish that looks nothing like the paint chip you chose. This experience is frustratingly common, and almost always preventable.
The gap between how paint looks wet and how it looks dry comes down to a handful of repeatable mistakes. Understanding them before you open the can is the best investment you can make in any painting project.
Skipping primer before applying topcoat paint.
Why it happens: Many homeowners assume modern paint-and-primer combinations eliminate the need for a separate primer coat, especially on surfaces that already have paint.
Applying paint too thickly in a single coat.
Why it happens: It feels efficient to load on paint and cover everything at once, and the finish looks solid while wet.
Not allowing adequate drying time between coats.
Why it happens: Dry-to-touch and dry-to-recoat are different stages. Paint that feels dry on the surface may still be curing underneath.
Painting over a dirty or greasy surface without cleaning first.
Why it happens: Walls often look clean to the eye, so the cleaning step gets skipped to save time.
Using the wrong roller nap thickness for the surface texture.
Why it happens: Many people grab whatever roller is available without considering how nap length affects the finish.
Painting in extreme temperatures or high humidity.
Why it happens: Project schedules don't always align with ideal weather, and the effect of temperature on paint isn't always obvious until after the fact.
The Role of Surface Preparation
No paint — regardless of quality — performs well over a dirty, glossy, or damaged surface. Dust, grease, and old paint residue all interfere with adhesion, causing the new coat to sit on top rather than bond. As the paint cures and dries, that weak bond becomes visible as uneven sheen, flaking edges, or colour that looks blotchy in different lighting.
Sanding a previously painted surface dulls the sheen and gives the new coat something to grip. Cleaning walls with a mild degreaser before painting removes invisible contaminants that would otherwise push the paint away. Skipping either step is one of those deferred decisions that tends to compound — much like the neglected minor issues described in our piece on how small repairs snowball into bigger problems.
Don't Skip the Patch-and-Sand Step
Holes, cracks, and dents in walls should be filled and sanded smooth before any paint is applied. Paint does not hide surface damage — in fact, sheen finishes like satin and semi-gloss actively highlight imperfections. Take the time to repair the surface first, and your finished walls will look genuinely smooth rather than painted-over.
How to Get a Finish That Actually Holds
Once you understand where paint jobs go wrong, correcting course is straightforward. Use a primer suited to your surface type — drywall, wood, and previously painted surfaces each have different needs. Apply paint in thin, even coats and allow full drying time between each, checking the manufacturer's recoat window rather than guessing.
Match your application tool to the job: a short-nap roller for smooth walls, a longer nap for textured surfaces, and a quality angled brush for edges and trim. Pay attention to ambient conditions — most latex paints perform best applied between 50°F and 85°F with moderate humidity. Painting on a hot, dry day or in a damp basement will alter how the paint flows and cures, often producing the very streaks and patches you were hoping to avoid.
Finally, evaluate coverage in consistent lighting. Natural daylight at different angles reveals imperfections that artificial lighting hides. Walk the room before declaring a coat finished, and address thin areas while the paint is still workable.
80%
Of paint failures linked to poor surface prep
Industry painting professionals widely cite inadequate surface preparation as the leading cause of premature paint failure, accounting for the large majority of callbacks and repaints.
2–4 hrs
Typical recoat window for latex paint
Most interior latex paints specify a recoat window of two to four hours under standard conditions, though full cure can take up to 30 days — rushing this process frequently causes adhesion problems.