

Key Takeaways
Why Regrouting Matters More Than It Looks
Grout isn't just decorative — it seals the joints between tiles, keeping water, dirt, and bacteria from getting underneath. When grout cracks, crumbles, or goes missing entirely, moisture can work its way into the substrate and cause damage that goes far deeper than the tile surface. Wall board can soften, subfloors can warp, and mold can take hold in places you can't easily see.
The good news is that regrouting is one of the more approachable tile repairs a homeowner can take on. It requires patience and a bit of elbow grease, but no advanced skills. As we note in our article on why small repairs matter, letting minor maintenance issues slide often leads to significantly larger expenses down the line — and regrouting is a prime example.
What you will need
Tools and Materials You'll Need
Gather everything before you start. Having the right tools on hand reduces frustration and helps you maintain steady progress through the job.
Grout saw or oscillating multi-tool with grout blade
Used to cut out and remove existing grout from tile joints without damaging the tiles.
Grout float
A rubber-faced trowel used to press new grout into tile joints evenly.
Sponge and bucket
Used to wipe excess grout from tile faces during and after application.
Grout (sanded or unsanded)
The filler material applied to tile joints; type depends on joint width.
Grout sealer
Applied after grout cures to protect joints from moisture and staining.
Safety glasses and dust mask
Protect eyes and lungs from grout dust created during removal.
Painter's tape
Used to protect fixtures, edges, or adjacent surfaces from grout smears.
Step-by-Step: How to Regrout Your Tiles
Work in manageable sections — especially in larger areas like shower surrounds or floor runs. Rushing any stage, particularly curing time, is the most common reason regrouting jobs fail prematurely.
Put on your safety gear
Before touching any tools, put on safety glasses and a dust mask. Removing old grout creates fine silica dust that can irritate eyes and lungs. Knee pads are also worth wearing for floor tile work.
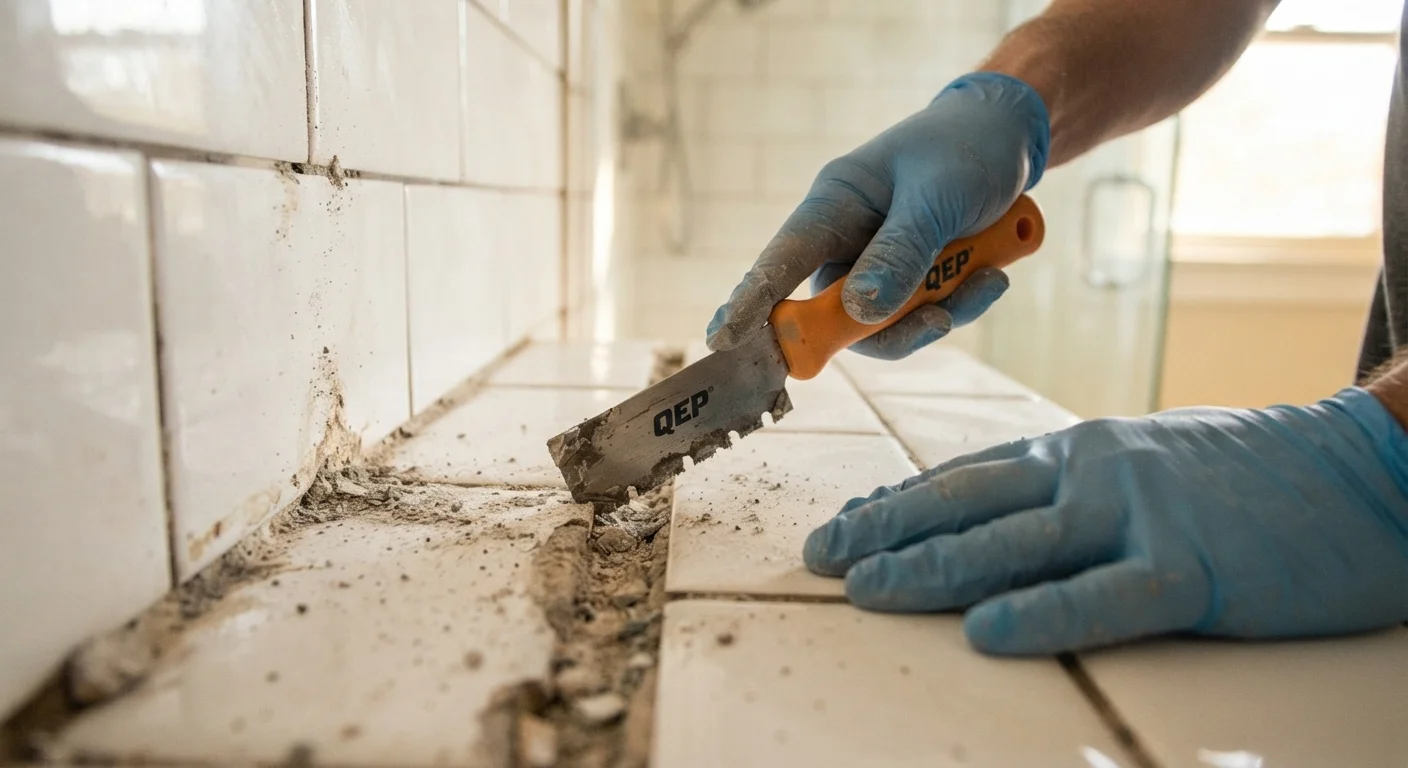
Remove the old grout
Using a grout saw or oscillating multi-tool fitted with a grout removal blade, carefully work along each joint to cut out the old grout. Aim to remove grout to a depth of at least 2–3 mm. Work slowly and keep the blade centered in the joint to avoid chipping tile edges.
Vacuum out loosened debris thoroughly once you've finished a section. Any remaining dust or crumbs will interfere with adhesion.
Clean the joints and tile surface
Wipe the joints and surrounding tile faces with a damp cloth to remove all dust residue. Allow the area to dry completely before proceeding — moisture trapped in the joint can prevent new grout from curing properly.
Mix your grout
Follow the manufacturer's instructions on your grout packaging carefully. Add grout powder to clean water (not the other way around) and mix to a smooth, thick paste — similar in consistency to peanut butter. Let the mixture rest for about five minutes, then stir once more before use.
Use sanded grout for joints wider than 1/8 inch and unsanded grout for narrower joints. Using the wrong type can lead to cracking or poor fill.
Apply the grout
Hold the grout float at roughly a 45-degree angle and press grout firmly into the joints using diagonal strokes. Work in sections of about two to three square feet at a time. Pack each joint fully — avoid air pockets or gaps.
Once the joints in a section are filled, use the float held nearly flat to scrape off the bulk of excess grout from the tile faces before it starts to set.
Clean the tile faces
Wait about 15–20 minutes after applying grout before cleaning — long enough for it to firm up slightly in the joints but not so long that it hardens on the tile surface. Use a damp (not soaking wet) sponge to gently wipe the tile faces in a circular motion, rinsing the sponge frequently. Several passes may be needed.
A light haze may remain on the tiles — this is normal and can be buffed off with a dry cloth once the grout has cured for a few hours.
Allow the grout to cure fully
Most grouts require a minimum of 24–72 hours to cure before the surface is exposed to water. Check the packaging for the specific curing time of the product you've used. Keep the area dry and avoid heavy foot traffic on floor tiles during this period.
Apply grout sealer
Once the grout has cured completely, apply a penetrating grout sealer using a small applicator brush or sponge tip bottle, working along each joint. Wipe away any sealer that lands on tile faces promptly. Allow the sealer to absorb and dry according to the product directions before exposing the surface to moisture.
Reapply sealer annually in high-moisture areas like showers to maintain protection.
Test a Small Area First
If you're uncertain about your technique or the grout color match, practice on a small, inconspicuous section before tackling the full surface. This gives you a chance to adjust your consistency, application pressure, and cleaning timing before committing to the entire area.
Common Mistakes and How to Avoid Them
Even careful DIYers can run into trouble. The most frequent issue is applying new grout over old without fully removing the existing material. Fresh grout won't bond properly to old grout, and the joint will fail quickly. Another common mistake is mixing grout too wet — it should have a smooth, peanut-butter-like consistency, not runny.
Working in a room with poor airflow can also cause grout to dry unevenly, leading to cracks. Open windows or run a bathroom fan throughout the process. Finally, skipping the sealer step leaves freshly grouted joints vulnerable to staining and moisture penetration almost immediately.
Know When to Call a Professional
If you notice soft, spongy substrate material beneath tiles, visible mold colonies, or tiles that shift and rock when pressed, the damage likely extends beyond the grout joints. These conditions may involve water-damaged wall board or subfloor materials that require professional assessment and repair before new grout is applied.